
Delivery Monitoring (IMD) - User Guide
links: https://dashboard.mcjimleather.com/modules/dm
(Scan to be directed to the user guide documentation.)
Overview
Delivery Monitoring lets you follow every consignment delivery from the moment it starts as a Transfer Requisition (TRQ) all the way to its final Transfer Receipt (TR). Each row on the screen represents one delivery and shows how far it has progressed through the process.
The module also handles the notice system. When a store has received its goods but the promo has not yet created the required TR, you can send an escalating series of SMS notices — first to the promo, then to the Area Supervisor, and finally to the Audit Team — so that the pending TR is followed up and resolved.
What you can do here
• Track each delivery's status in real time, from TRQ through to TR.
• See supporting records for each delivery: TPL, TD, Checklist, VDR, and dispatch attempts.
• Send a First, Second, or Third SMS notice when a TR is overdue.
• View the reason a promo declined to process a TR.
• Open attached documents and delivery-attempt history.
• Configure the notice schedule that decides when each notice becomes available (Settings).
Who Can Use This Module
This module is intended for the IMD Head and the people the IMD Head authorizes to use it.
Getting access
1. The IMD Head authorizes a person to use the module.
2. The MIS Department grants that person access.
3. Once access is granted, Delivery Monitoring appears in the user's list of modules.
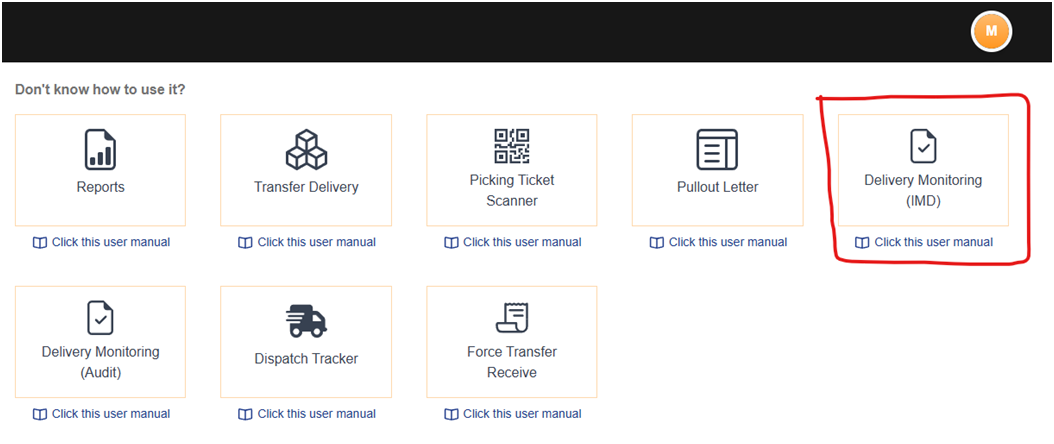
|
Note If you believe you should have access but do not see the module in your list, coordinate with the IMD Head for authorization, then with MIS to have the access enabled. |
Key Terms
These abbreviations appear throughout the module. Understanding them makes the columns on the main screen easy to read.
|
Term |
Stands For |
Meaning |
|
TRQ |
Transfer Requisition |
The initial request that starts the delivery process. |
|
TPL |
Transfer Picklist |
The picklist generated from the requisition. |
|
TD |
Transfer Delivery |
The delivery document for the goods being sent to the store. |
|
Checklist |
— |
A list of TDs. It lets you see whether a TD has already been added to a checklist or not. |
|
VDR |
Vendor Delivery Receipt |
The receipt confirming the vendor delivery. |
|
TR |
Transfer Receipt |
Created by the promo once goods are received. When created, a TR number is generated and appears here in the monitoring screen. |
The Main Screen
When you open Delivery Monitoring you see a table of deliveries. Each row is one delivery, and the columns run left to right in roughly the same order the delivery moves through the process.
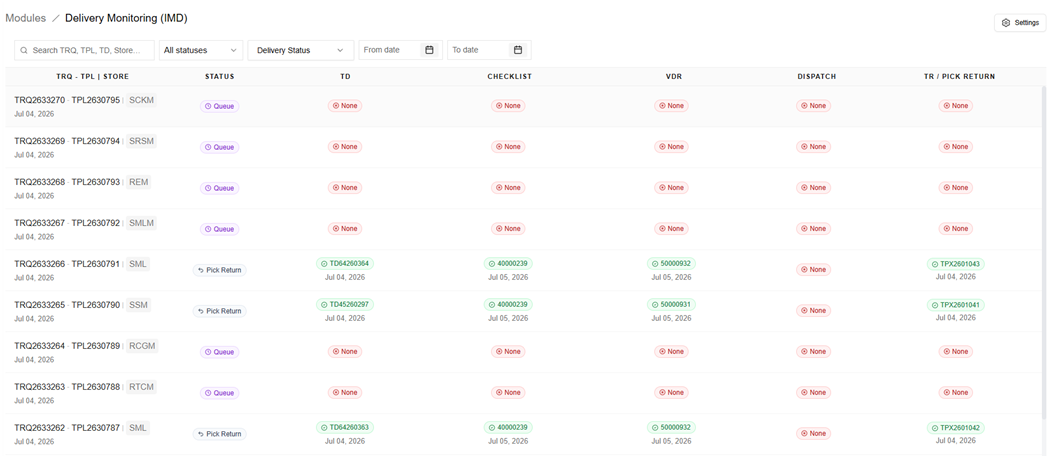
Columns
|
Column |
What it shows |
|
TRQ – TPL | Store |
The Transfer Requisition and Transfer Picklist numbers, the store code, and the date the TPL was created. |
|
Status |
The current stage of the delivery (see Section 5). |
|
TD |
The Transfer Delivery number and its date, or “None” if not yet created. |
|
Checklist |
The checklist number and date, or “None” if the TD is not yet on a checklist. |
|
VDR |
The Vendor Delivery Receipt number and date, or “None” if not yet available. |
|
Dispatch |
The dispatch timeline showing each delivery attempt and its result. |
|
TR / Pick Return |
How the delivery ends: either the Transfer Receipt status/number, or a Pick Return if the goods were sent back. This is also where notice buttons appear (see Section 6). |
|
Reading the badges Green badge with a number — the record exists (for example, a TD or TR number has been created). Red “None” badge — that record does not exist yet. |

Searching and filtering
The controls at the top of the screen help you find specific deliveries:
• Search — search by TRQ, TPL, TD, or Store code.
• Status filter — show only deliveries in a chosen status, or “All statuses.”
• Delivery Status — a separate dropdown that filters the TR / Pick Return column by notice state (see below).
• From date / To date — limit the list to a date range.
• Clear — appears when any filter is active; removes all filters at once.
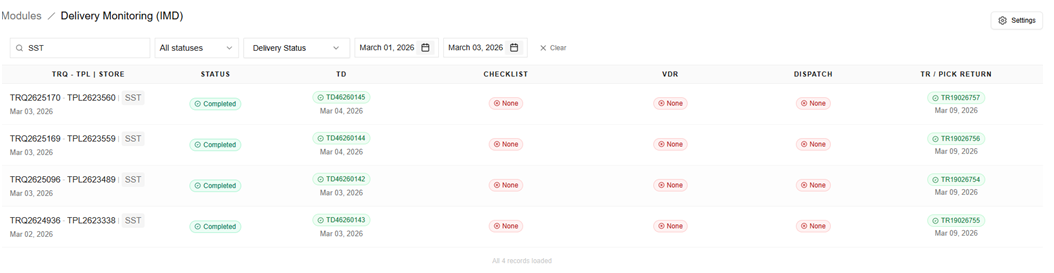
Filtering by notice state (Delivery Status)
Next to the status filter is a separate Delivery Status dropdown. Opening it reveals the Delivery Status Filter panel with an on/off switch for each notice state: For TR, First Notice, Second Notice, and Third Notice. All are on by default. Switch one off and rows in that state are hidden, so you can concentrate on the notices you actually need to act on. (This is separate from the status filter above, and does not affect Pick Return, which is an end state rather than a notice.)

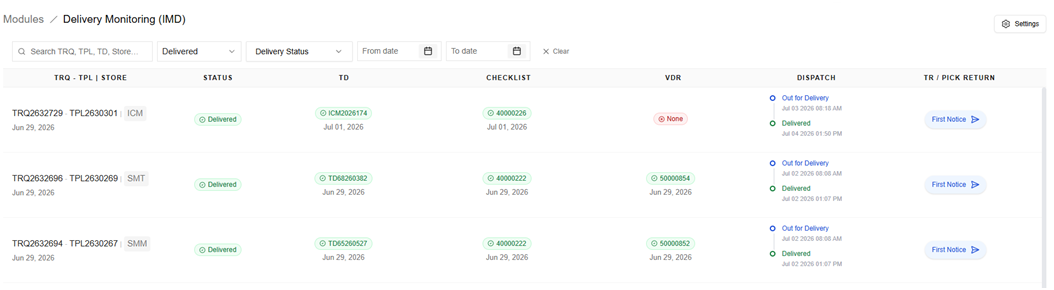
The list loads more rows automatically as you scroll. When every record has loaded, a message at the bottom confirms that all records are shown.
Delivery Statuses
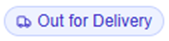
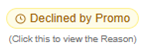
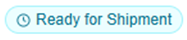
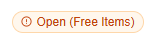
The Status column tells you where a delivery currently stands. The possible statuses are:
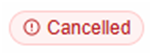
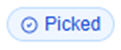
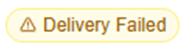

|
Status |
Meaning |
|
Queue |
The delivery is queued and has not yet been picked. |
|
Picked |
The items have been picked. |
|
Assembling |
The TD is on a checklist and is being assembled. |
|
Ready for Shipment |
A VDR exists; the delivery is ready to ship. |
|
Out for Delivery |
The delivery is on its way to the store. |
|
Delivered |
The goods have been delivered to the store. |
|
Delivery Failed |
A delivery attempt failed. Click the dispatch timeline to view attempt details. |
|
Declined by Promo |
The promo declined to process the TR. Click the status to view the reason. |
|
Open (Free Items) |
The transfer is open for free items. |
|
Completed |
A TR has been created — the delivery is fully complete. |
|
Pick Return |
The goods were sent back or reversed before delivery. This is an end state — no TR is expected. |
|
Cancelled |
The delivery was cancelled. |
The Notice System
Once goods are delivered, the promo is expected to create the Transfer Receipt (TR). When they do not, the TR column lets you send an escalating series of SMS notices. There are three levels, each aimed at a different recipient.
|
Notice |
Sent to |
Purpose |
|
First Notice |
The store's Promo |
A first warning asking the promo to process the pending TR. |
|
Second Notice |
The Area Supervisor |
Escalation: the promo was already notified but the TR is still unresolved. |
|
Third Notice |
The Audit Team |
Final escalation: neither promo nor supervisor acted; audit takes necessary action. |
|
Important — notices are sent manually The system decides when a notice button becomes available, but it never sends anything on its own. The button simply appears; you review the message and recipients, then click Send. Nothing goes out until you do. |
How the TR / Pick Return column behaves
A delivery ends in one of two ways: a TR is created (the normal path), or a Pick Return happens (the goods are sent back). Depending on the delivery's progress, the column shows one of the following:
|
What you see |
What it means |
|
A green TR number |
The TR has been created. The delivery is complete and nothing further is needed. |
|
Pick Return |
The goods were sent back or reversed before delivery. This is an end state — no TR is expected and no notice applies. |
|
For TR |
The goods are delivered and a TR is expected, but the waiting period before the first notice has not yet passed. |
|
First / Second / Third Notice (button) |
A notice is now due. Click the button to open the compose window and send it. |
|
First / Second / Third Notice Sent |
That notice has already been sent. The row waits until the next notice becomes due. |
|
None |
No TR exists and the delivery is not yet at a stage where a notice applies. |
The TR column showing a “For TR” badge and a green TR number (a completed one).


The TR column showing the notice buttons: First Notice (blue), Second Notice (amber), Third Notice (red).



TR column showing a “First / Second / Third Notice Sent” badge.



The TR / Pick Return column showing a “Pick Return” badge.

Sending an SMS Notice
When a notice is due, a colored button (First, Second, or Third Notice) appears in the TR column. To send it:
1. Click the notice button in the TR column. The compose window opens.
2. Review the message. The text is prepared automatically for that notice level and lists the TD(s) that still have no TR.
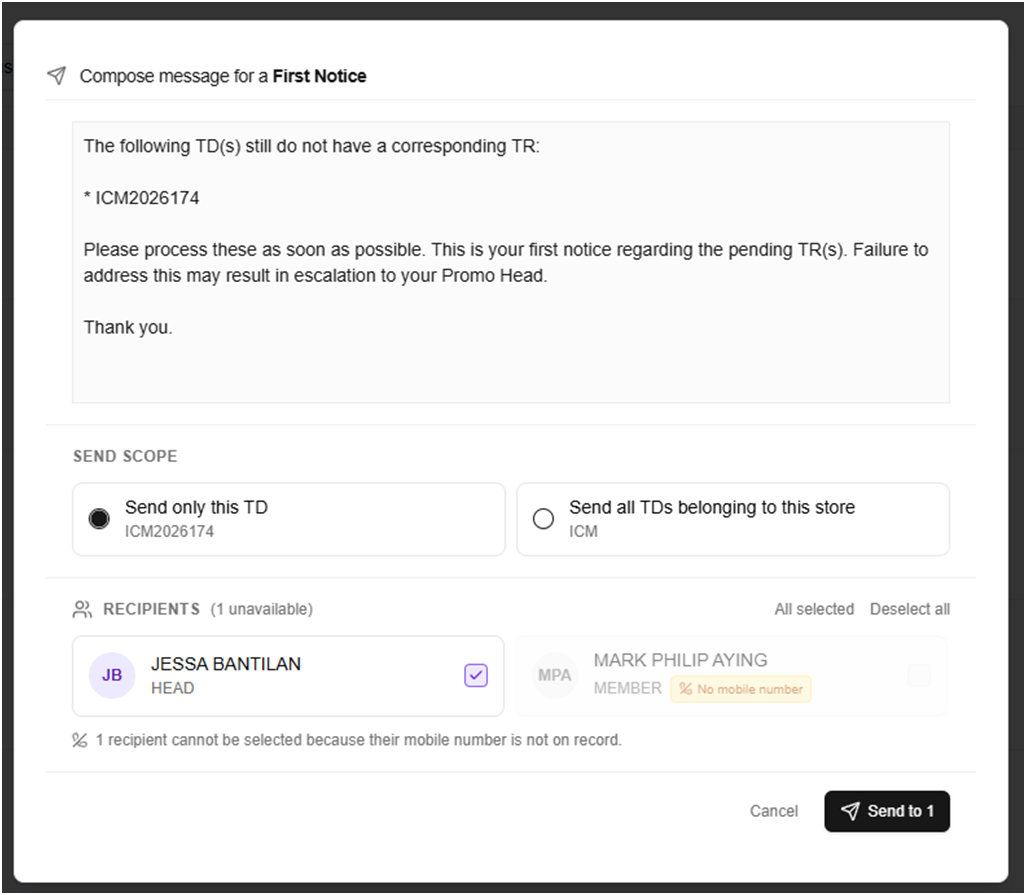
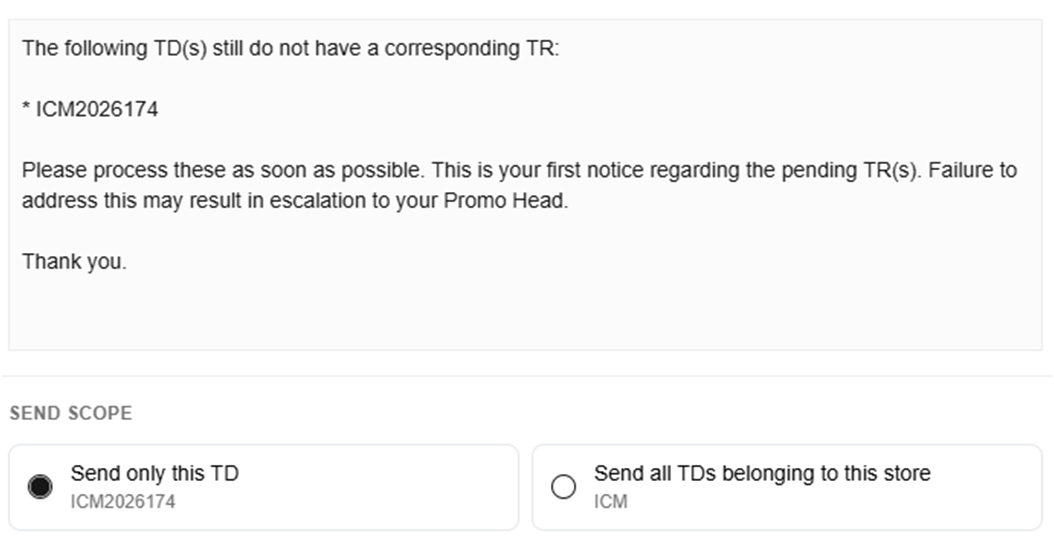
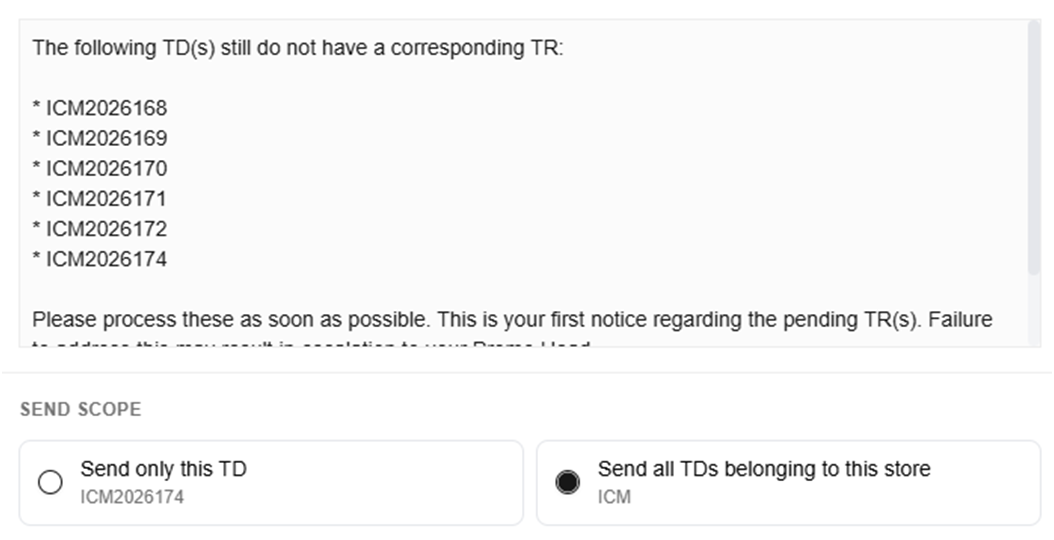
3. Choose the send scope:
◦ Send only this TD — sends the notice for this single TD.
◦ Send all TDs belonging to this store — covers every pending TD for that store in one notice.
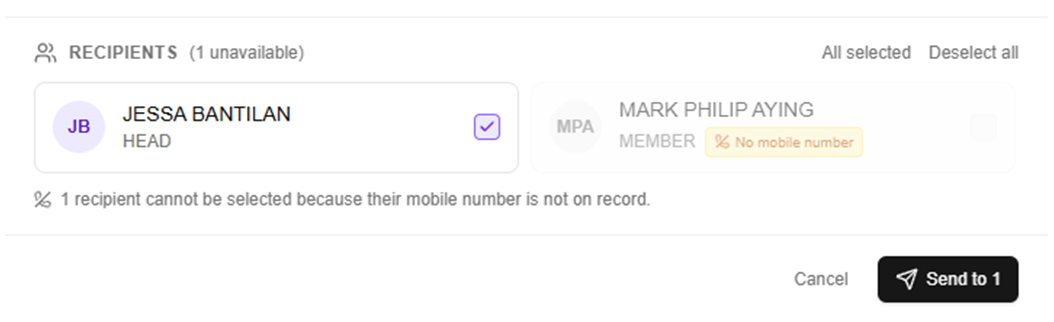
4. Check the recipients. The people who will receive the SMS are listed at the bottom. Use the checkboxes to include or exclude anyone, or use Select all / Deselect all.
5. Click Send to [number]. The button shows how many recipients are selected. To close without sending, click Cancel
|
Tip The recipient list matches the notice level — the promo for a First Notice, the Area Supervisor for a Second Notice, and the Audit Team for a Third Notice. Always confirm the list before sending. |
Notice Schedule (Settings)

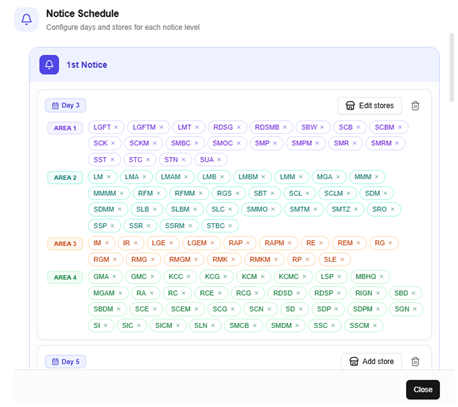
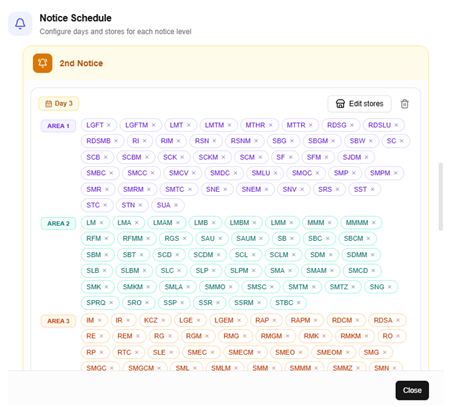
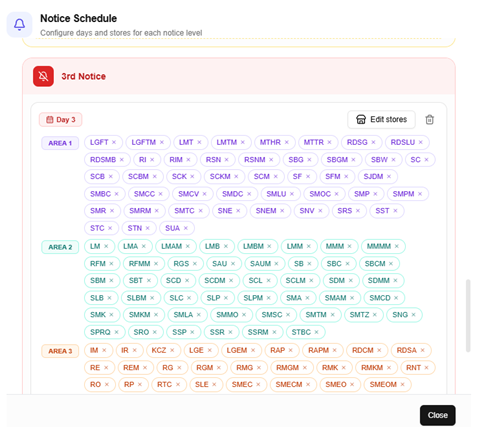
How the schedule is organized
• There are three sections: First Notice, Second Notice, and Third Notice.
• Under each notice you add one or more days (for example, Day 5, Day 6).
• Under each day you add the store codes that should follow that timing.
• Store codes are organized into groups — Area 1 to Area 4 and Events — each with its own unique stores. Search for the store code you want and add it.
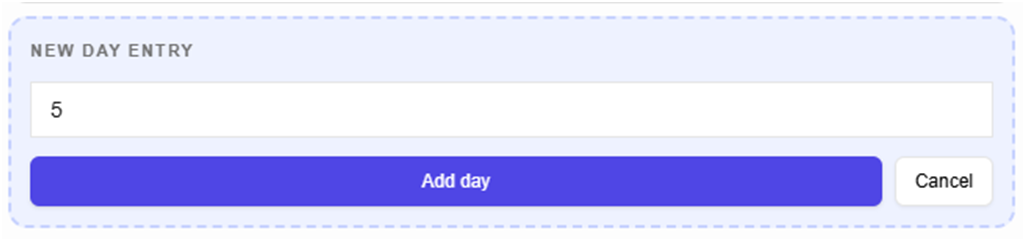
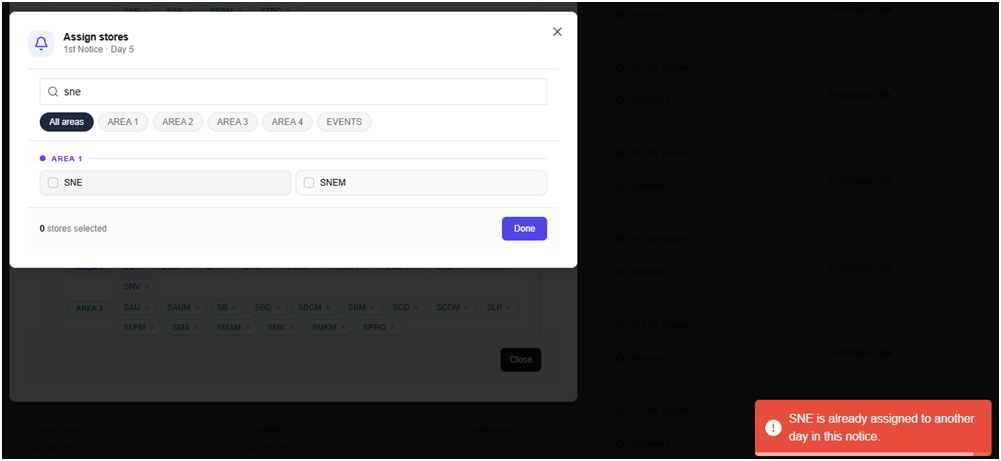
The attempt to add a store that is already assigned within the same notice, showing that the system blocks the duplicate.
|
One day per store, per notice Within a single notice level, each store code can be assigned to only one day. For example, if store SNE is placed on Day 5 of the First Notice, it cannot also be added to Day 6 of the First Notice — the system will not allow the duplicate. Each store does, however, get its own day under each of the three notice levels. |
How the timing works
The number of days you assign to a store determines when each notice button appears:
|
Notice |
Becomes available when… |
|
First Notice |
Delivery date + the store's First Notice days have passed, and the promo still has not created the TR. |
|
Second Notice |
The date the First Notice was sent + the store's Second Notice days have passed. |
|
Third Notice |
The date the Second Notice was sent + the store's Third Notice days have passed. |
|
Example Suppose store SNE is set to Day 5 under the First Notice. • The delivery is completed on June 1. • The system waits 5 days (June 1 + 5). • On June 6, if the promo still has not created the TR, the First Notice button appears and you can send the warning SMS. The Second and Third Notices then follow the same idea, counted from the day the previous notice was sent. |
Saving changes
Make your additions and edits in the schedule, then close the window. Any changes you made are saved at that point, and the monitoring list refreshes to reflect the new schedule.
Viewing Extra Details
Some cells on the main screen are clickable and open a window with more information.
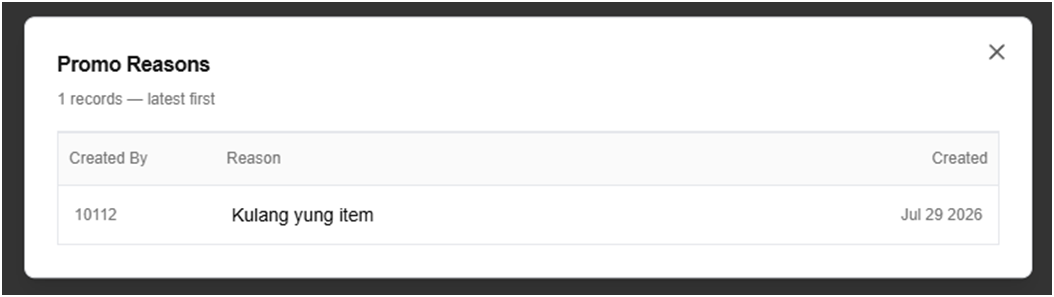
Promo decline reason
When a status shows “Declined by Promo,” click it to open the Promo Reasons window. It lists each reason the promo gave, who entered it, and when — with the most recent reason shown first.

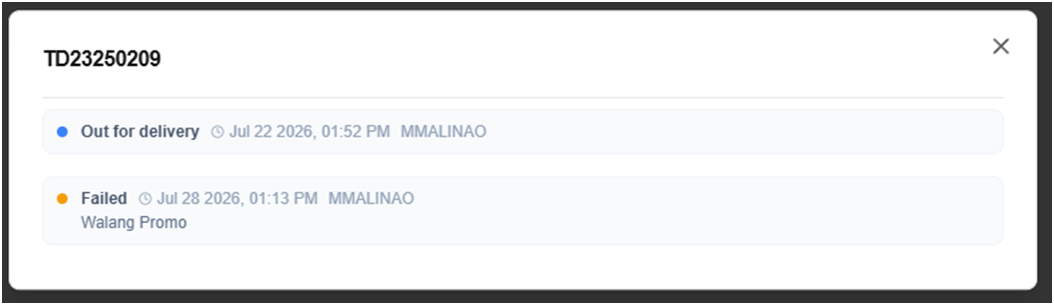
Delivery-attempt history
When a dispatch has a failed attempt, the dispatch timeline becomes clickable. Click it to open the delivery history, which shows each attempt, its result, the date and time, who recorded it, and any reason given.

Attached documents
When a TR has attached documents, a file icon appears with the note “Click to view attached documents.” Clicking it opens the document viewer, where you can:

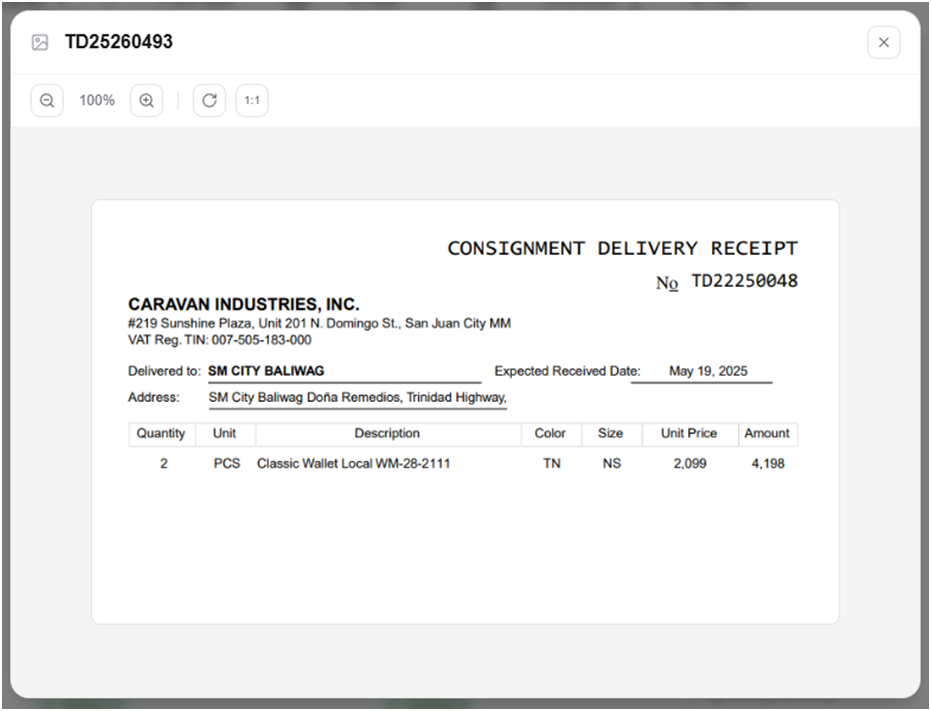
• Switch between multiple files using the tabs or the previous / next arrows.
• Zoom in and out, rotate the image, or reset the view to its original size.
• Drag the image to reposition it when zoomed in.
• Close the viewer with the X button or the Escape key.
Quick Reference
Typical flow of a delivery
1. A delivery begins as a TRQ and moves through TPL, TD, Checklist, and VDR.
2. It goes Out for Delivery and then becomes Delivered.
3. The promo is expected to create the TR.
4. If the TR is not created in time, the First Notice becomes available — you send it to the promo.
5. If still unresolved, the Second Notice becomes available — you send it to the Area Supervisor.
6. If still unresolved, the Third Notice becomes available — you send it to the Audit Team.
7. Once the TR is created, its number appears and the delivery shows as Completed.
8. Alternatively, if the goods are sent back before delivery, the delivery ends as a Pick Return instead — no TR or notice applies.
|
At a glance
Send notices manually — the button appears automatically, but you review and click Send.
Scope matters — choose one TD or all TDs for the store before sending.
Schedule drives timing — Settings decides how many days pass before each notice appears. |